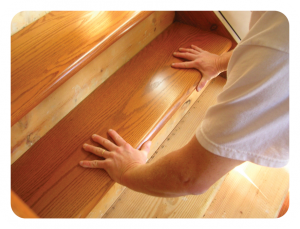
Installing a StareCasing system is a three-step process that’s easier than any other hardwood replacement system.
After you have removed the carpet, make sure you clean the stairs of debris. Always starts at the top of the staircase and work down. Polyurethane construction adhesive is required for installation. Do not use solvent or water based construction adhesives.
 STEP #1: MEASURE
Measure the the tread depth (A), the nosing depth (B) and the tread length (C). Use a tread template for marking the tread length as well as any slight angle that might occur where the tread meets the skirt face.
STEP #2: MAKE YOUR CUTS
Take the measurements from Step #1 and transpose those measurements onto a StareTread™ overlay. Always cut with the finish side of the overlay facing up. Use caution and handle the StareCasing overlays gently while cutting to prevent damage.
 STEP #3: INSTALL OVERLAY AND RISER
Dry fit the StareTread™ over your existing stair tread to ensure you have the proper fit. Apply adhesive in a 1/4″ continuous bead linearly throughout the tread surface with a 1″ spacing between beads,including a solid bead along the front edge of the nosing. Use only polyurethane-based construction adhesive to install the StareCasing System. After the adhesive is applied, slowly set the new overlay into place over the tread. Press the overlay firmly into the adhesive.
Measure, cut and install the StareRiser™ the same way you did the StareTread™. Allow approximately 8 hours of dry time before walking on the new tread surface.
Printable StareCasing Installation Guide
Have open ended stairs? See our Open End Stair Installation Guide
